
Happy Saturday!
I hope that everyone has had a marvelous week this week! Here is a little fun fact about me. I LOVE doing my nails. So much, that I used to change my nails with my outfit. As I've gotten older, and I have more things to do, that is near impossible. I thought I would share a little tutorial of some fairly easy nail art that I have learned and it has easily become a go-to. I love to have my ring finger as an accent nail. I think that it really spruces up a manicure.
If you want to learn how I achieved this look... keep on reading :)
I am by no means a nail artist, so bear with me.

Let's Begin!

{What you'll need}
1. A single color to use for all but your ring fingers and as an accent color.
I am using "Poptastic" by Color Club. (get it here) You can use any color you like!
2. A base coat for your accent nail.
I am using "Wet n' Wild". (available at walgreens, walmart, you name it). Any white will do.
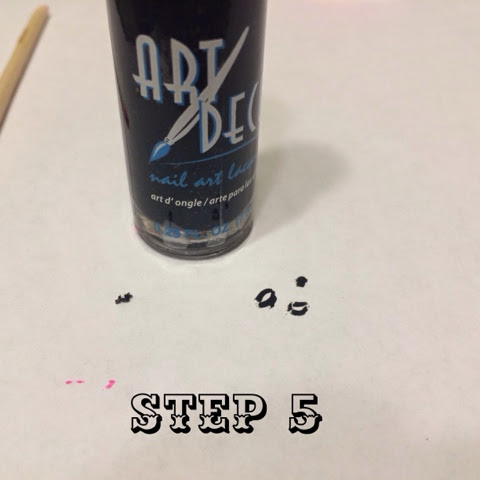
3. A thin "striping" brush polish in black.
I am using L.A. Colors Art Deco (available at Dollar General)
4. A top coat
I am using "Top Shine" by Sinful Colors (available at walgreens and walmart)
5. A tooth pick
 | ||||||||||
| Pretty simple... paint your nails. I used two coats of "Poptastic" on all of my nails but the ring fingers. On the ring fingers I used a white. I recommend only painting one layer because if it is too thick the designs won't ever dry. |

Use a toothpick and get a big glob of paint on the end. This will make it easy to make little dots.

With the glob of paint on the toothpick, dab polka dots all over the accent nail. They don't have to be symmetric!
Tip: don't make a lot of close together dots... it'll make things complicated
 |
| Polka Dots! |

Here is where things may get complicated. With the Striping brush, make small "U" shapes around each dot you made before. I like to make the "U's" a little jagged, so they are more random.
Tip: Make sure the openings do not all open in the same direction.
 |
| One U down |
 | |
This part was a little hard to explain... To fill in the openings where there is too much white, making tiny little O's and more dots.
 |
| Once again, they don't have to be perfect! |

Last but not least (drum roll please), a top coat!
{THE END}
My ring! Oh, yeah... and the final nail product. :)
{THE END}
My ring! Oh, yeah... and the final nail product. :)

I hope you enjoyed this fun little tutorial! I know that I am not the best, and I am by no means a nail artist. If anyone has any nail suggestions for a tutorial, I would be more than happy to learn the style and post one. Thank you so much for taking your time to read this!
Haylie
(I know this is not a Bible verse today, but I can not get this song out of my head)
"Spirit lead me where my trust is without borders.
Let me walk upon the waters
Wherever you would call me.
Take me deeper than my feet could ever wander
And my faith will be made stronger
In the presence of my saviour."
Hillsong United - Oceans (where feet may fail)
LOVE these nails!! You always have the cutest nails. I'm going to have to try this ASAP! :) Great tutorial! LOVE YOU!
ReplyDelete